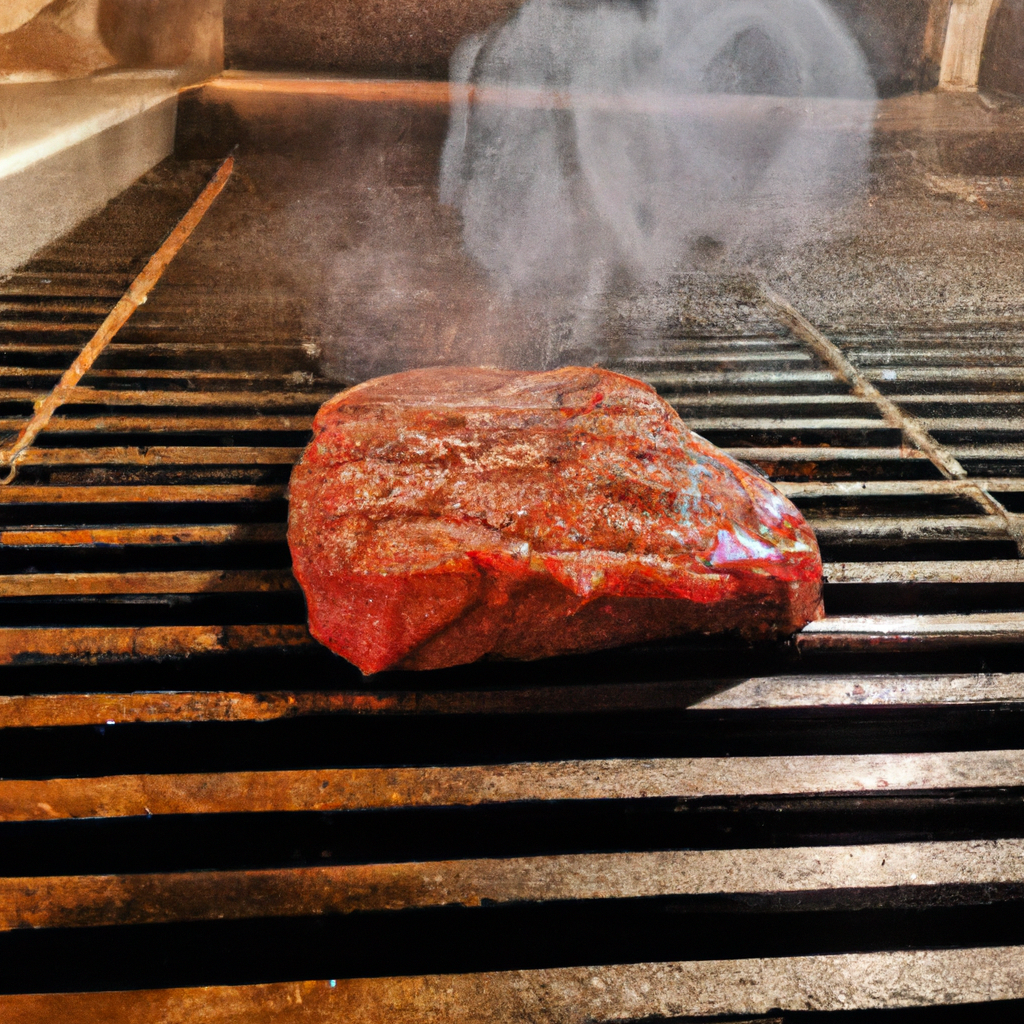
Welcome to our comprehensive guide on achieving the perfect reverse sear on your grill. If you’re a grilling enthusiast looking to take your skills to the next level, the reverse sear technique is a game-changer. In this article, we’ll unlock the secrets behind this cooking method and walk you through the step-by-step process to achieve mouthwatering results every time.
Understanding the Reverse Sear Technique
Before we dive into the details, let’s understand what exactly the reverse sear technique entails. Unlike traditional grilling methods where you sear the meat first and then cook it, the reverse sear technique flips the process around. By slow-cooking the meat at a low temperature and then finishing it off with a high-heat sear, you get a perfectly cooked, juicy, and tender piece of meat with a delectable crust.
The Benefits of the Reverse Sear Technique
The reverse sear technique offers several advantages over traditional grilling methods:
- Even Cooking: Slow-cooking the meat first ensures that it cooks evenly from edge to center, resulting in a consistent doneness throughout.
- Juiciness: By starting with low heat, the meat retains its moisture, resulting in a succulent and juicy texture.
- Perfect Crust: The high-heat sear at the end creates a beautiful crust on the meat, adding a delightful flavor and texture.
- Versatility: The reverse sear technique is suitable for a variety of meats, including beef, pork, lamb, and even poultry.
Now that we understand the benefits, let’s dive into the step-by-step process of achieving the perfect reverse sear.
Step 1: Choosing the Right Cut of Meat
To achieve the best results, it’s essential to select the right cut of meat for the reverse sear technique. Opt for thicker cuts, such as ribeye, New York strip, or filet mignon, as they work exceptionally well with this method. The thickness of the cut allows for even cooking and gives you more control over the doneness.
Step 2: Preparing the Grill
Before you start cooking, it’s crucial to prepare your grill for the reverse sear technique. Follow these steps:
- Set up a two-zone fire: Divide your grill into two zones—one for indirect heat and the other for direct heat. This can be achieved by placing the charcoal or arranging the burners accordingly.
- Preheat the grill: Preheat your grill to a low temperature, around 225°F (107°C). This low and slow cooking method allows the meat to slowly reach the desired doneness without overcooking.
Step 3: Seasoning the Meat
Seasoning the meat is a crucial step in enhancing its flavor. Keep it simple by using a combination of salt, pepper, and your favorite herbs and spices. Ensure that you generously coat all sides of the meat, allowing the flavors to penetrate the surface while it cooks.
Step 4: Slow-Cooking the Meat
Now it’s time to slow-cook the meat. Place it on the indirect heat side of the grill, away from the direct flames or heat source. Close the grill lid to create an oven-like environment, and let the meat cook slowly until it reaches an internal temperature of about 10-15°F (6-8°C) below your desired doneness level. This low and slow process can take anywhere from 30 minutes to several hours, depending on the thickness of the meat.
Step 5: Searing for the Perfect Crust
Once the meat reaches the desired internal temperature, it’s time to give it a final sear for that perfect crust. Move the meat to the direct heat side of the grill, directly over the flames or heat source. Sear each side of the meat for about 1-2 minutes, or until you achieve a beautiful caramelized crust. Make sure to monitor the meat closely during this step to avoid overcooking.
Step 6: Resting and Serving
After the searing process, it’s crucial to let the meat rest for a few minutes before slicing and serving. This allows the juices to redistribute, resulting in a tender and juicy final product. Tent the meat with aluminum foil and let it rest for about 5-10 minutes. Once rested, slice the meat against the grain and serve it hot.
Conclusion
Congratulations! You’ve unlocked the secrets to achieving the perfect reverse sear on your grill. By following the step-by-step process outlined in this guide, you can elevate your grilling game and impress your family and friends with deliciously tender and flavorful meat. Remember, the reverse sear technique takes time and patience, but the results are well worth it. So fire up your grill, grab your favorite cut of meat, and get ready to savor the incredible flavors of this cooking method. Happy grilling!
